
Expand Product Image
Extend the frame for new crops while continuing the original background and lighting.
Open WorkshopJPG, PNG, and WebP supported
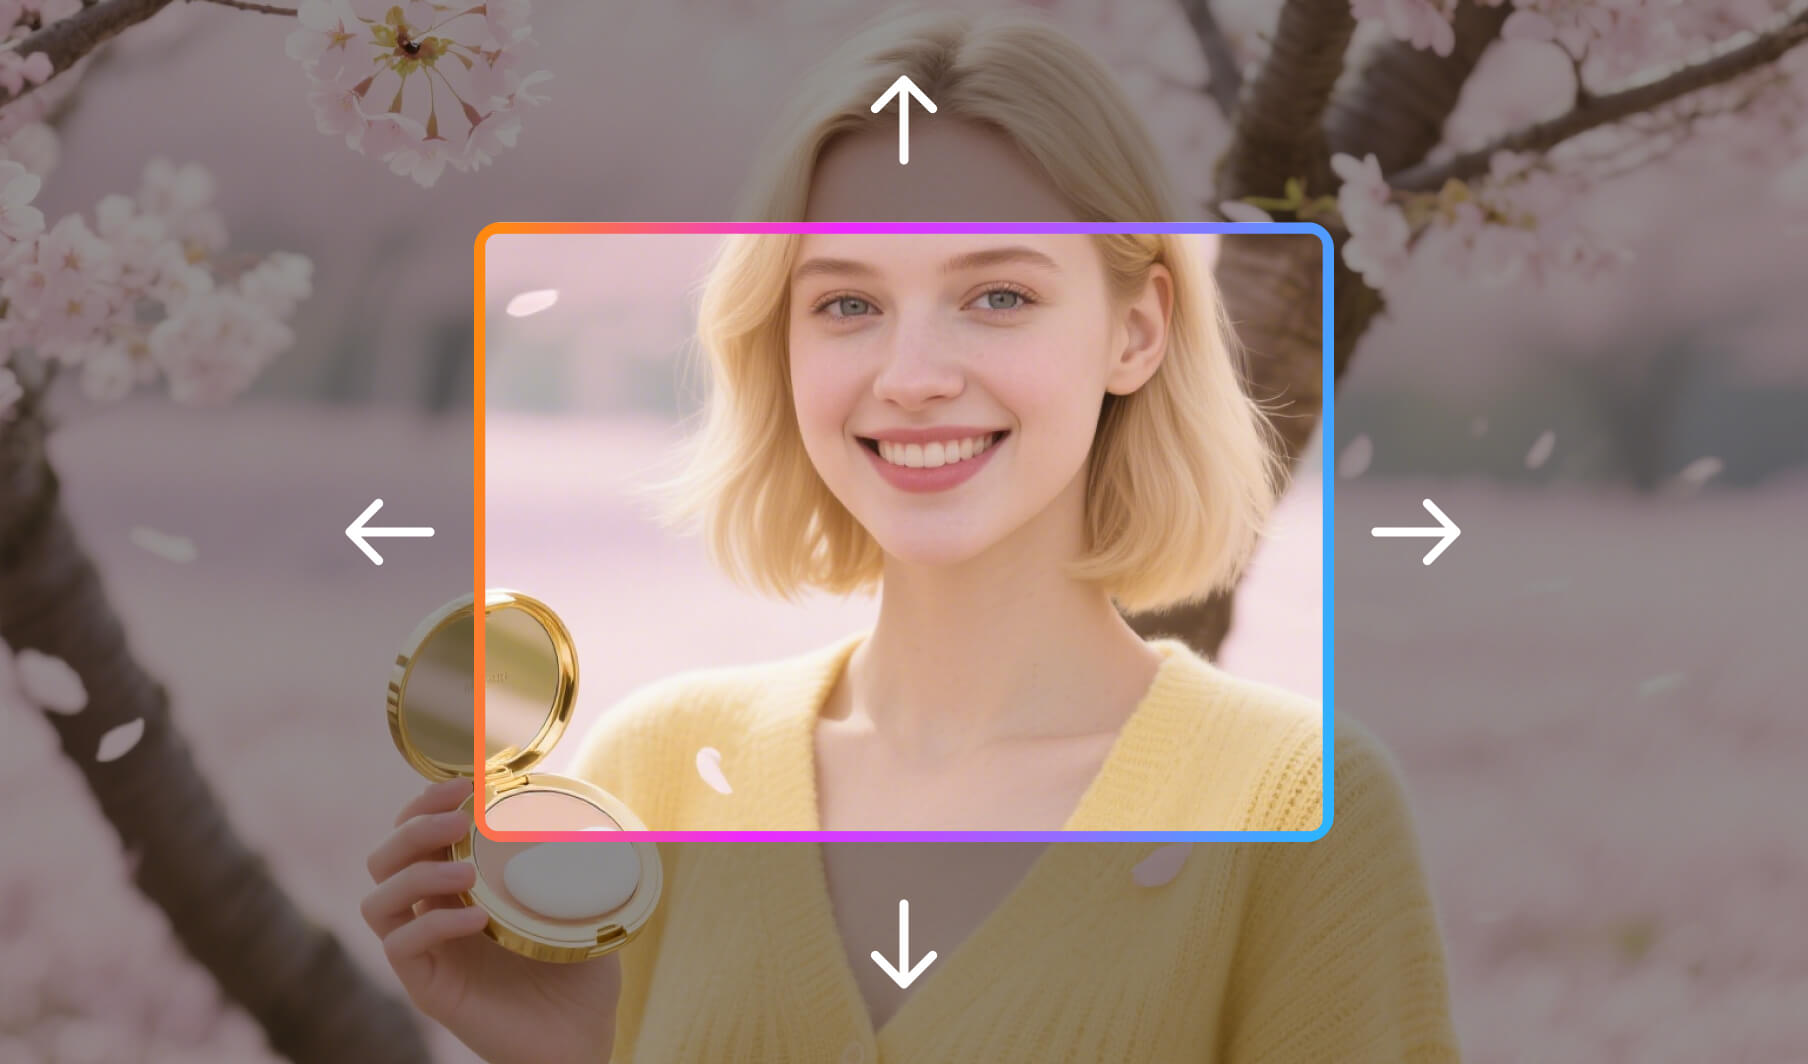
Extend the frame for new crops while continuing the original background and lighting.
Before and after

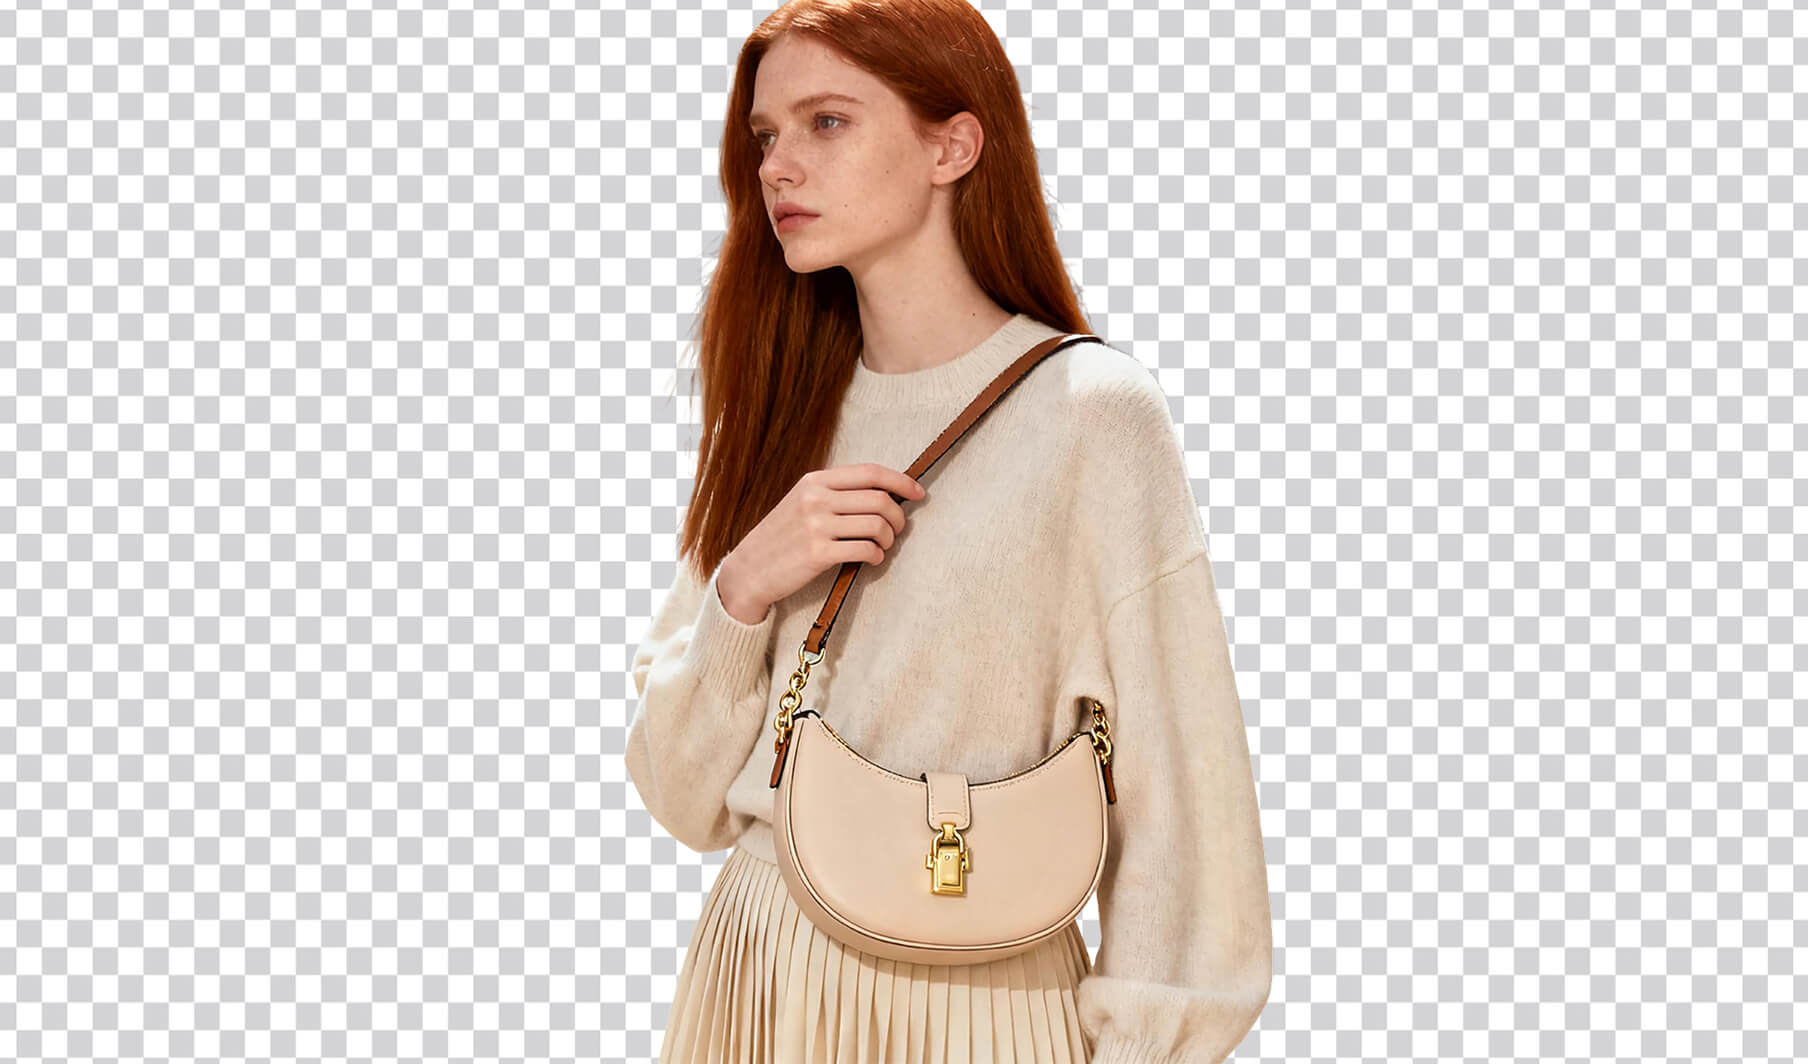
What you can create


Start in three steps
- 01
Upload the original image
Use the highest-quality source file you have.
- 02
Mark the intended change
Set the target, output size, or selected editing region.
- 03
Compare before and after
Zoom in on edges, text, texture, and changed areas.
How to get better results with Expand Product Image
Good outpainting preserves the original horizon, perspective, texture scale, light direction, and visual balance around the product.
- Clean source assets
- Controlled local changes
- Publish-ready exports
Continue the workflow
01Resize Product Image for EcommercePrepare product images for marketplace, storefront, ad, and social dimensions.02Change Product Photo BackgroundMove a product into a new studio, lifestyle, seasonal, or brand-colored setting.03Multi-channel Image Set GeneratorAdapt one visual direction for marketplace, storefront, advertising, and social placements.
Frequently asked questions
Is Expand Product Image designed for ecommerce images?
Yes. Workshop organizes the task around product fidelity, selling channel, output size, and a result that can continue into another workflow.
What should I prepare before starting?
Prepare a clear, evenly lit product image that shows the full subject and that you have the right to use.